2.1 - Getting Started in Revit
Models with options
For this step-by-step tutorial you can use a sample Revit file found on our Downloads page. Pick the Configurator file.
Revit is the place where every configurator or publication starts. When you want to use the Innobrix Home Configurator, the first step is to consider the scale of the project you want to put in Innobrix. How many home types do you have? How many options are there? Are all options already known? Unlike exporting models without options, you need to work with Model Groups when you want to leverage the Home Configurator. In almost all cases it helps to know in advance which projects or models you will place in Innobrix so you can prepare your model to be a good fit for Innobrix.
Innobrix Parameters
When you open the sample file you will see that all (parts of the) models are built entirely with Model Groups. Our Revit add-in assigns Innobrix parameters (instance-based) to these groups:
-
Innobrix: Type(s)
-
Innobrix: Column
-
Innobrix: Row
This set of parameters is used to create what we call a Configurable (a configurable object) in the Innobrix web environment. All groups that have a full set of parameters and share the same Innobrix: Type(s) value are bundled into one IBX file during export. Defining a type can feel abstract, but because of the number of groups you might need, we often draw the line at the bay-width level. In the sample file you will find two types: Vrijstaand and Rijwoning.
Use the Generate and export button (Innobrix --> Generate and Export) from a 3D view to create an Innobrix file (*.IBX) (View --> 3D View). In the Export dialog you can (for now) choose only the Vrijstaand home. When the export starts you will see 45 "cells" (groups) being exported. That is the file you can load into Innobrix shortly. The theory below is important to read before moving on to the next article.
Tile grid structure
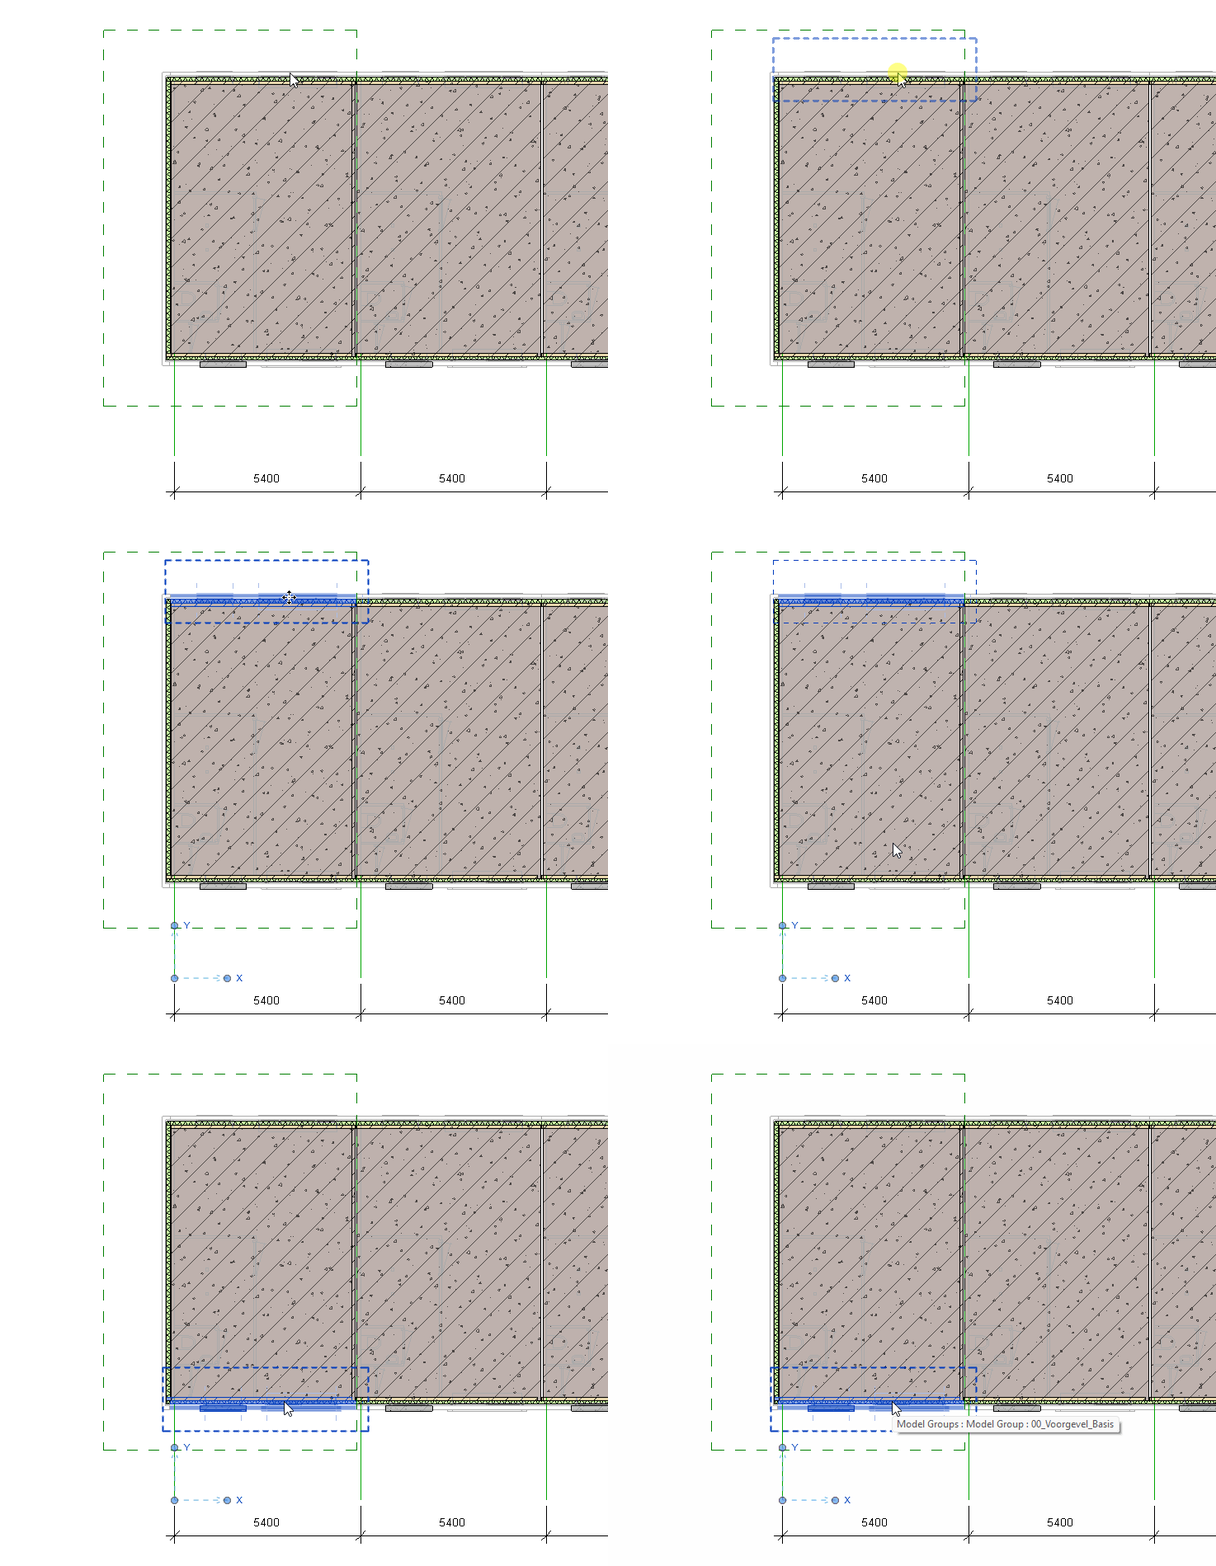
The Model Groups in your model can be single elements, but also composites such as the shell, roof shapes, layout variants, or facade options. These Model Groups are placed in a grid inside Innobrix, called the tile field. The location of each Model Group in this grid is determined by the Innobrix parameters.
The base groups you see above come from the "base" situation in Revit. Option groups can be placed anywhere in your document. Make sure the origin point of the Model Groups is correct relative to the type. You can see the columns as a category of groups that can swap based on an option.

